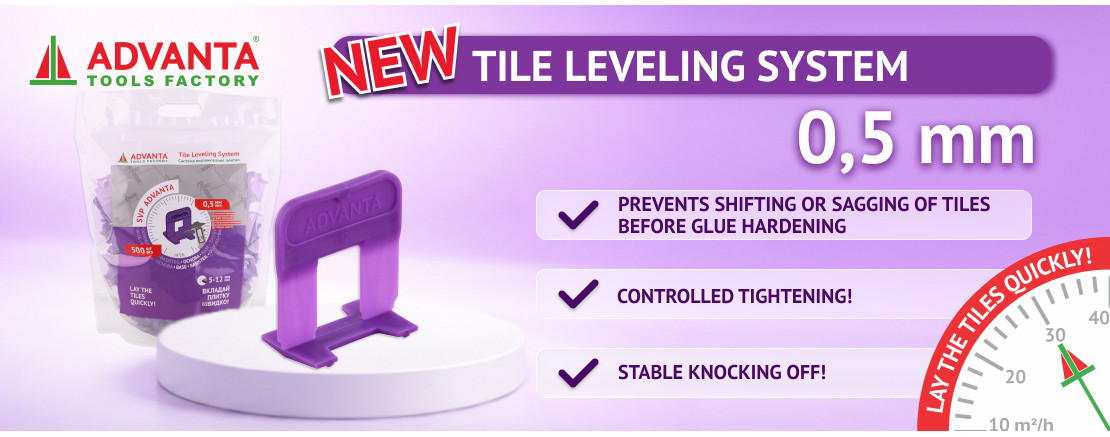
The first step is to purchase a tile leveling system for a high-quality result in our online store. Our managers will assist you in selecting the right system for your needs, calculating the required quantity, and arranging delivery. Once this important step is completed, you can proceed to the installation process, which consists of several stages:


Do you want your tiles to be perfectly even? The Advanta Tile Leveling System is exactly what you need. Forget about uneven surfaces and crooked grout lines! With our system, you'll achieve flawless results that will delight you for years to come.
Buying a tile leveling system in Ukraine has never been easier! Place your order on our website or contact our managers. Our tile leveling system prices will pleasantly surprise you! Special conditions and discounts are available for our dealers.
Don't postpone your renovation! Order the Advanta Tile Leveling System today and enjoy the results! Call us now at +38 (050) 407-48-85 and get a free consultation!

